This is the follow-up to Web Scraping 101: Build a simple web scraper using PHP. If you haven’t seen it yet, I’d highly recommend you to read that before continuing.
In this tutorial, we will be building a simple web scraper that extracts the result from Anna University’s website. This tutorial is strictly for educational purposes.
AU Scraper
We are going to do this in 4 simple steps:
Step 1: read the website and create the DOM
Anna University provides a nice little endpoint using which we can view our result by sending a GET Request.
http://aucoe.annauniv.edu/cgi-bin/result/cgrade.pl?regno=[register_number]
If you have gone through the previous post, the below needs no explanation.
Going through the source of the site, we can see that structure of the site is
pretty messed up. If you have tried running the above code, you’d have noticed that
it throws many errors at loadHTML() line. This is because libxml library used by
PHP throws an error when the HTML it receives is not structured properly.

To get over this, we use libxml_use_internal_errors() function which stops the libxml from throwing errors to the standard error.
Step 2: Extract the data
As we have seen already, the structure of the site is pretty messed up. So, we
need to find a pattern to extract the relevant data. Going through the site once
more, we can see that all the fields we need are enclosed within a <td> tag
with bgcolor="#fffaea" attribute.
To extract an element using its attribute, we can use query
method of DOMXPath class. query
method takes in a XPath(XPath is a query language for selecting nodes from an XML document.)
and returns a DOMNodeList similar
to getElementsByTagName in previous post.
The XPath query we will be using is
//td[@bgcolor="#fffaea"]
The above XPath query is broken down below:
| Expression | Description |
|---|---|
| // | makes the selection throughout the document. |
| td | selects all the td nodes. |
| @ | Selects attributes |
| td[@bgcolor="#fffaea"] | Selects all td with bgcolor="#fffaea" attribute |
First, we have to create a DOMXPath object. DOMXPath's constructor takes in
DOMDocument object. Then, we have to call the query method with the above
XPath query.
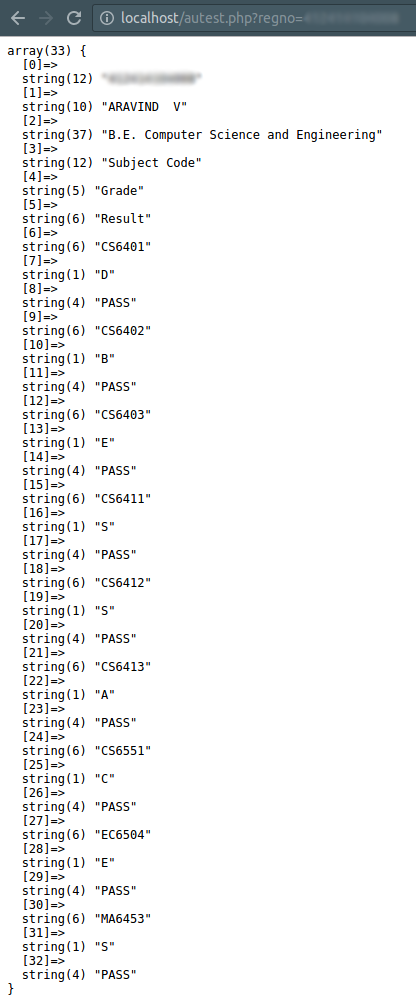
In the above code, data inside each selected node is stored into an array.
Step 3: Clean the data
Not all the data that we have retrieved is useful to us. Before we proceed to generate excel, let us first sanitize the data a little more.
From the above code’s result, we can clearly see that, from $extracted[6] to the
end of the array, every 3Nth element is the subject code and 3N + 1th element
is the grade.

Step 4: Store it to Excel
There are various external libraries to do this, but for simplicity, we are doing this with raw PHP.
To generate an excel file, first we need to include some headers.
header("Content-Type: application/vnd.ms-excel");
header("Content-disposition: attachment; filename=result.xls");
header("Pragma: no-cache");
header("Expires: 0");
The explanation below can be skipped:
| Header | Description |
|---|---|
| Content-Type: application/vnd.ms-excel | Sets the MIME Type for Excel |
| Content-disposition: attachment; filename=result.xls | Sets the file as downloadable with the name result.xls |
| Pragma: no-cache | When the no-cache directive is present in a request message, an application SHOULD forward the request toward the origin server even if it has a cached copy of what is being requested. |
| Expires: 0 | The Expires header contains the date/time after which the response is considered stale. Invalid dates, like the value 0, represent a date in the past and mean that the resource is already expired. |
Now, anything to the standard output will be stored as .xls. Each cell value
in a row is separated using tabs \t and each row is separated using line breaks \n.
example:
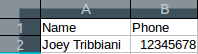
echo 'Name' . "\t" . 'Phone' . "\n";
echo 'Joey Tribbiani' . "\t" . '12345678' . "\n";
will output:
Now, storing $result to Excel:
will output:

That’s it, folks! We have successfully generated an Excel file with the scraped result. If you have any problem following the tutorial, please do post it in the comments below.
GITHUB link to the completed project: GITHUB